


The Role of Poultry Feeder in Maintaining Flock Health
Understanding the Importance of Poultry Feeders for Flock Health
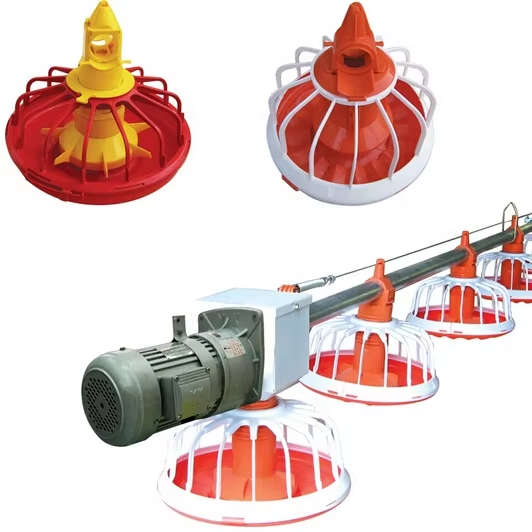
Getting chickens the right food matters a lot if we want them to stay healthy and lay good eggs. A proper diet does wonders for how fast they grow and boosts egg output while keep...
View More


 ONLINE